《 Ukulele - CP6 - Components 》
◆ Jointing Body & Neck |
||
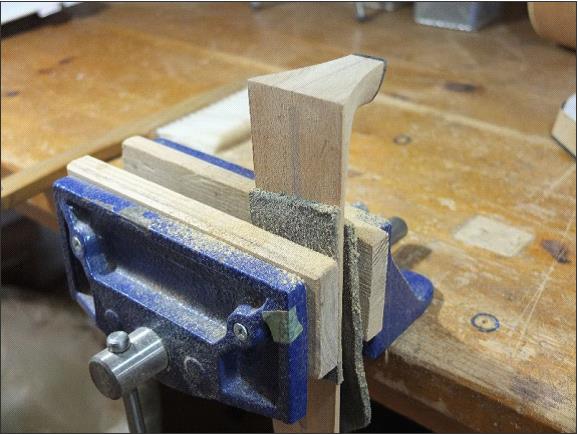 |
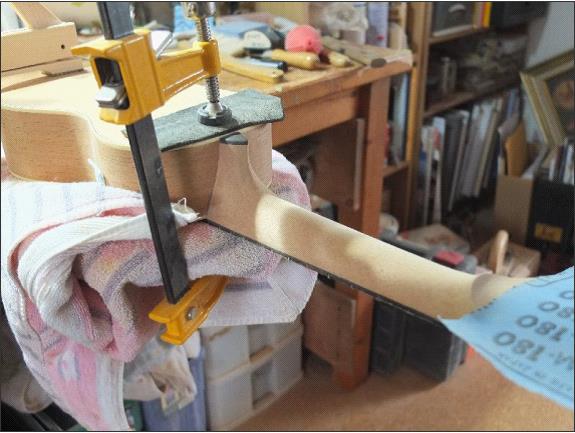
The cut-end of the neck is to be trimmed to unite with the the body. PIC shows fixed neck on the vise. |
|
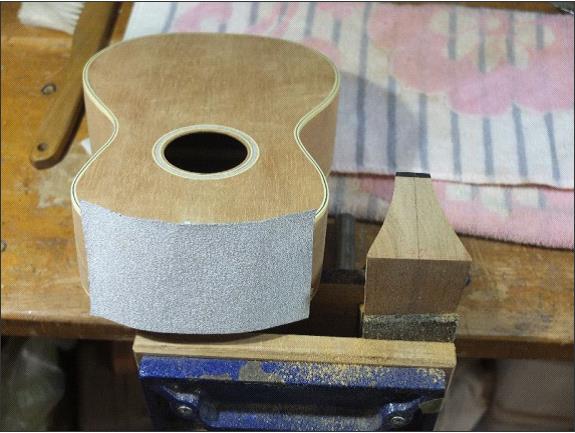 |
#120 grit paper has been sticked firmly on the body with doublesided tape. | |
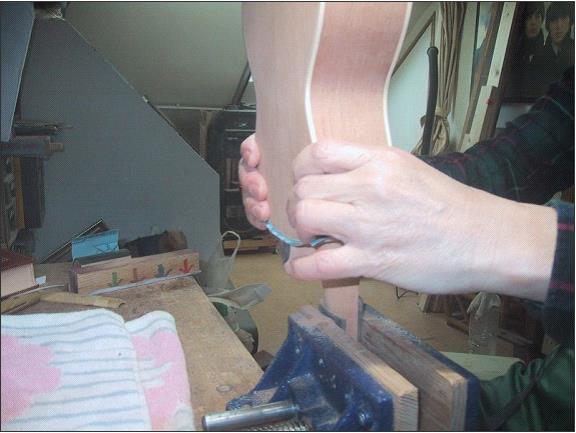 |
Hold the body and keep it straight up, and place it on the vised neck. Start sanding the neck-end back and forth, slowly and evenly. Check progress frequently to ascertain the neck-end shape. |
|
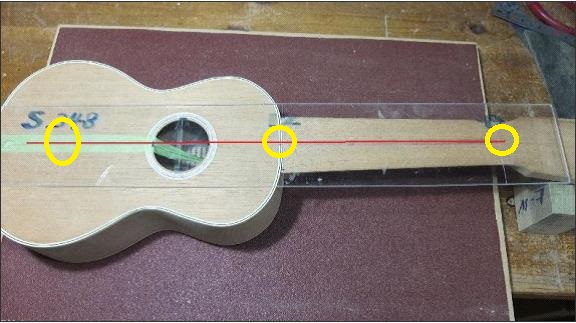 |
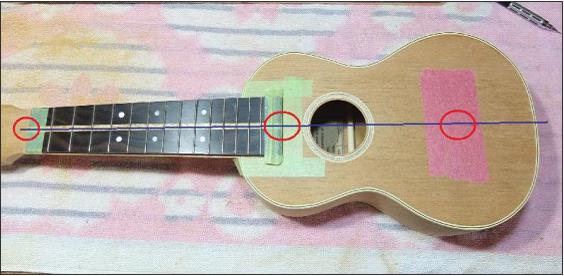
The most important thing for the unity is to align the centerline of the neck and body. Using template, confirm if three check spots which are nut (0 fret), jointed point (12 fret) and the center of bridge, are aligned with the centerline. Furthermore check the neck angle to the topboard. The neck should be jointed slightly downward, not flush with the topboard. Preferably there should be at least 1mm of margin at the location of bridge. |
|
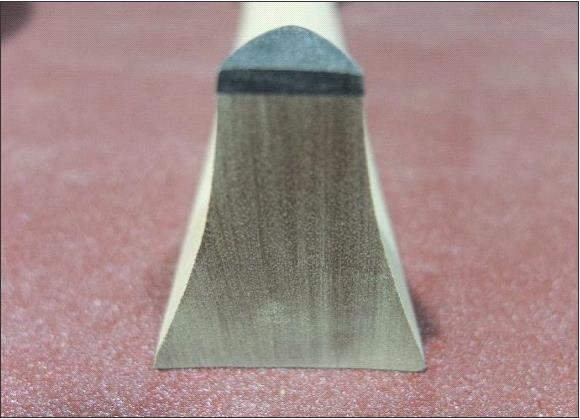 |
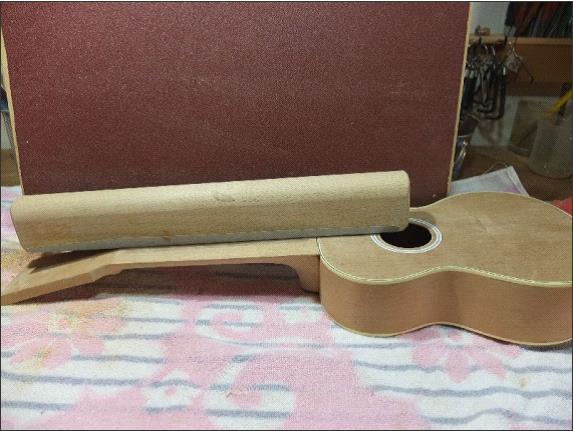
Neck-end sanded out. | |
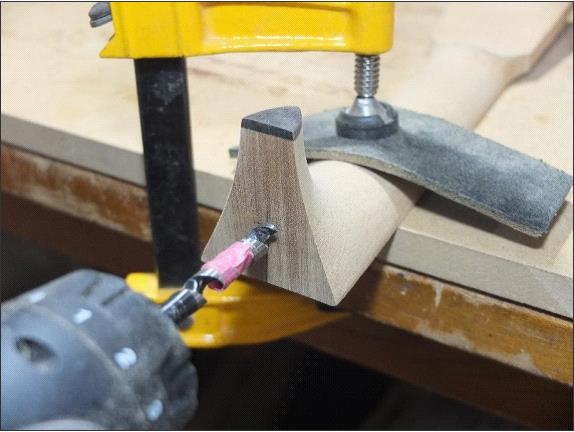 |
Dowel joint will be applied to enhance the unity. Dowel pin is 8mm in diameter and 30mm long. Scribe the location of dowel pin and clamp the neck to be doweled. |
|
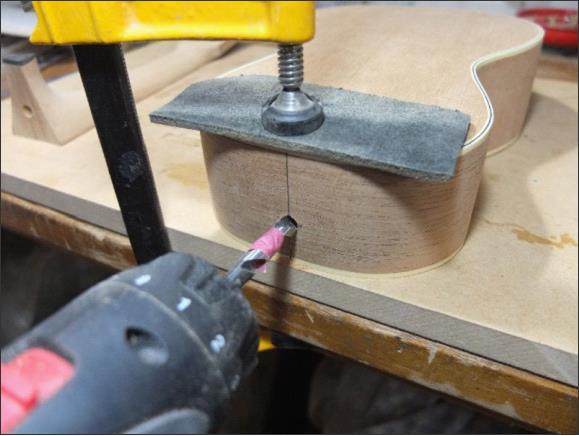 |
Next drill a hole on the body in the same way as the neck. | |
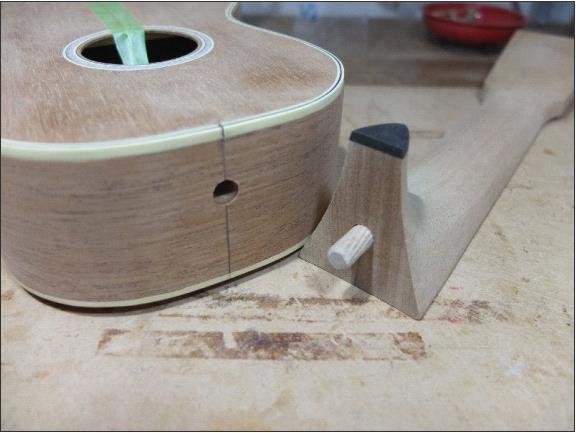 |
Before gluing, make sure if both body and neck are fitted together. But usually it does not fit well because of hand drilling. Therefore, both holes have to be drilled slightly wider to have a good fit. In this regard, dowel joint could be used just to strengthen the joint. |
|
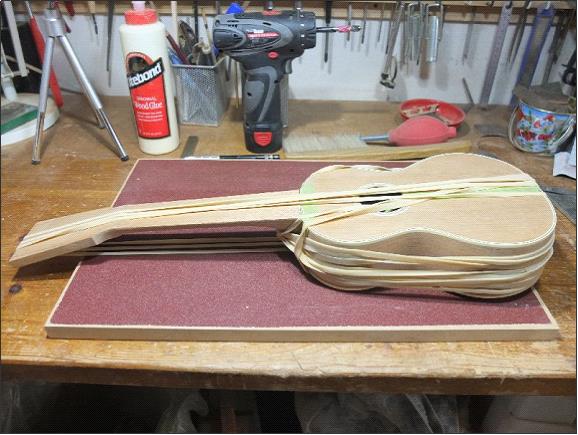 |
The body and the neck will be clamped together using rubber bands.
|
|
◆ Gluing Fretboard |
||
 |
Sand the neck face flush with the topboard. |
|
 |
Before gluing, ensure the position of fretboard are aligned with the centerline. |
|
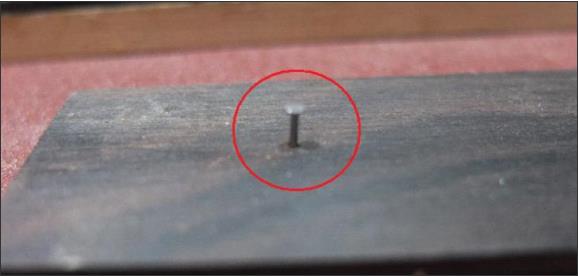 |
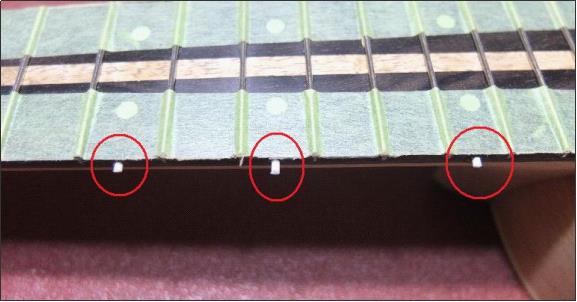
Drive nails into two spots on backside of the fretboard which enables fretboard not to slip out of the position while clamping. Head of the nail should be cut off at 1mm of length left. | |
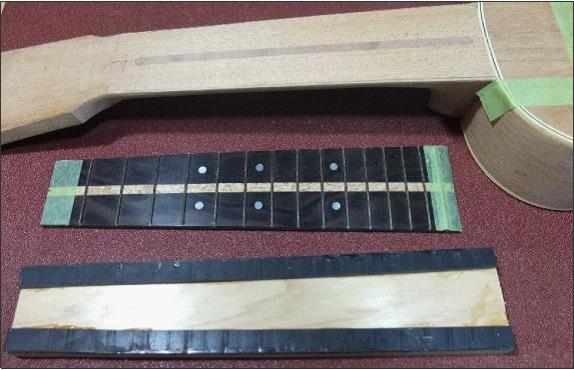 |
Now ready to glue the fretboard onto the neck. |
|
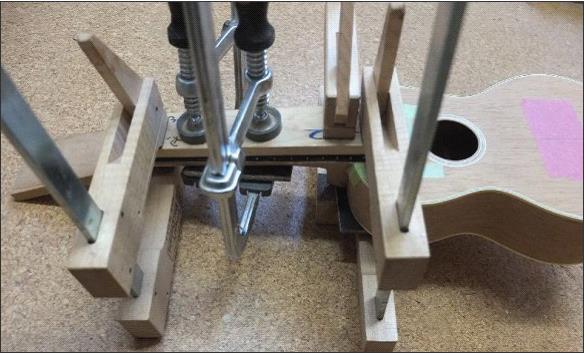 |
Apply two cramps on the jointed area. One is neckside and other cramp for bodyside because neck is jointed downward at an angle. |
|
◆ Trimming Neck & Side Dot |
||
 |
This stage is a last opportunity to trim the neck shape. Take time for filing and sanding until you are satisfied with the shape. |
|
 |
Install side dot markers. |
|
◆ Gluing Bridge |
||
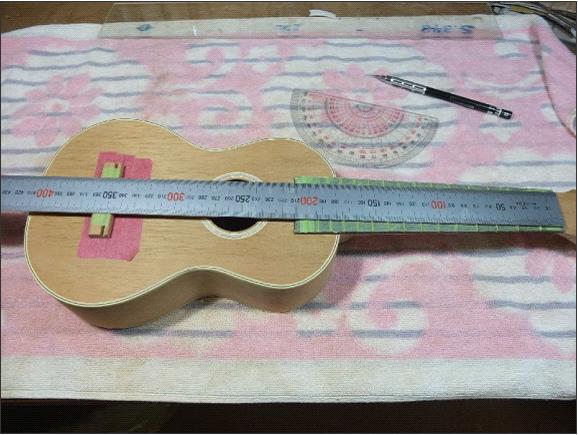 |
Scribe the position of bridge on masking tape on the topboard. Make sure the distance from the nut based on a scale length, and the location of the bridge aligning with a centerline of the fretboard. |
|
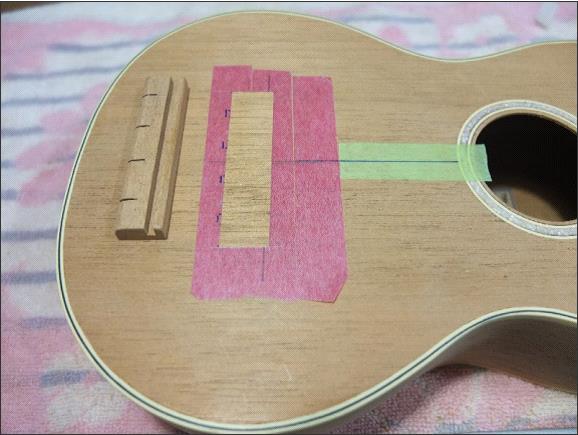 |
Cut out the masking tape where bridge is planed to be glued. | |
 |
Apply two cramps on the bridge. Do not forget to use rubber pad in between. |
|
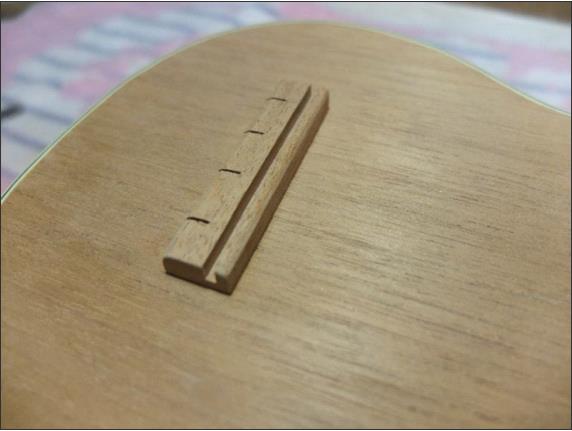 |
Bridge glued on the body. |
|
◆ Setting Nut & Peghead |
||
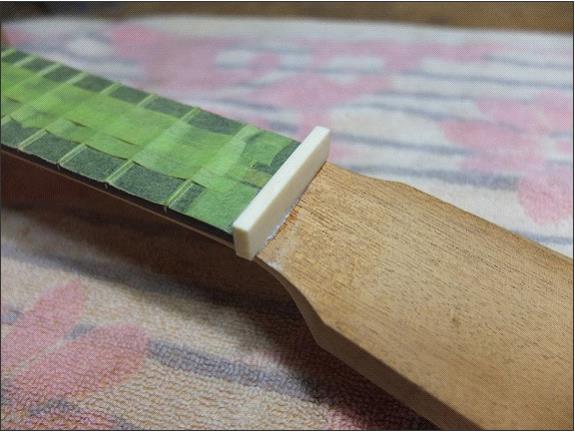 |
Before setting, get rid of every excess glue or burrs. Attach the nut with a few drops of instant glue. Final shaping will be done after top coating is finished. |
|
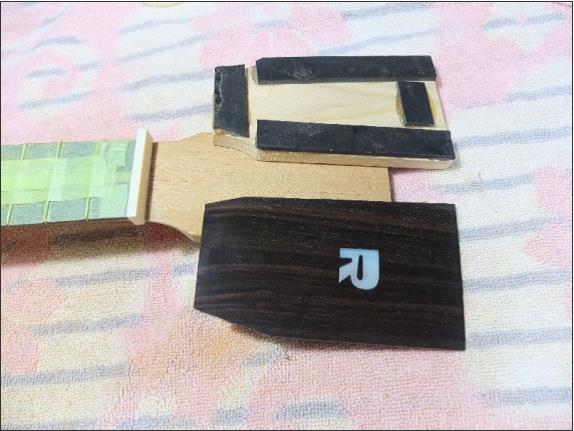 |
Next step is to glue peghead veneer which is already inlayed. |
|
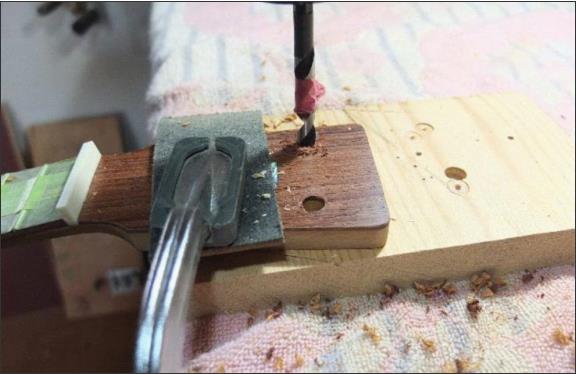 |
Drill holes for tuning pegs with precision. Peghead must be cramped on a wood plank to avoid any cracking caused by drilling. |
|
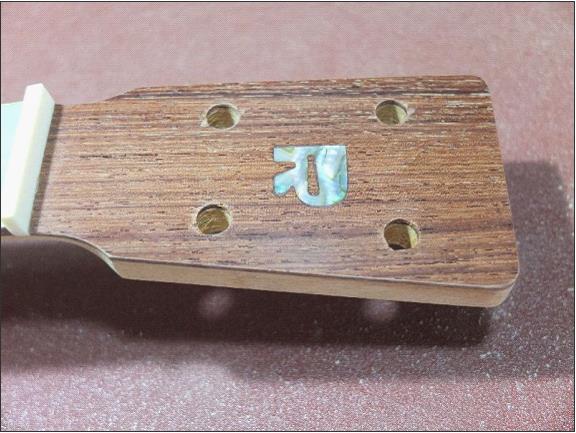 |
Rosewood peghead. Is'nt it good?. |
|